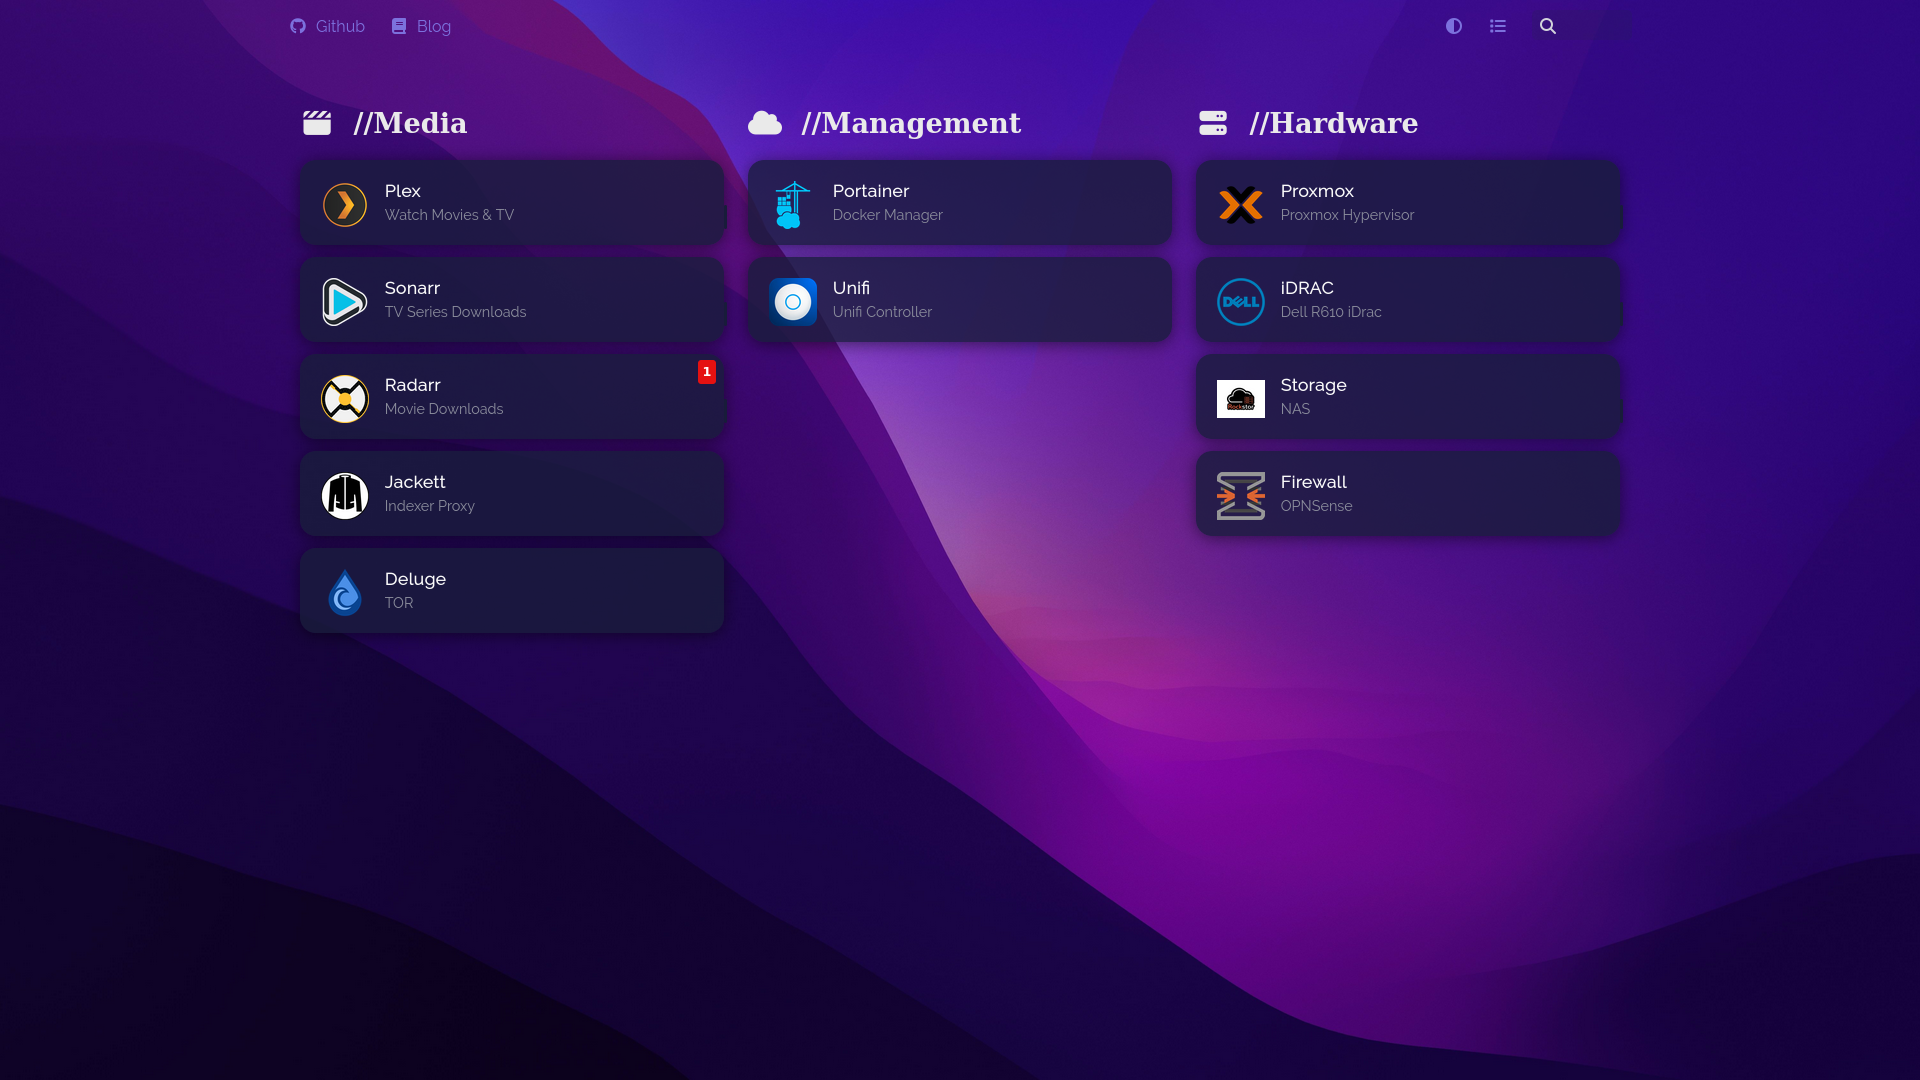
Configuring Homer Dashboard
In my last article I talked about how to setup Homer dashboard with Docker, now I will walk through some of the features and how to use them.
Main Features
Some of Homers main features are:
- Yaml file configuration
- Search
- Grouping
- Theme customisation
- Service Health Checks
- Keyboard shortcuts
Configuration
To begin configuration navigate to the homer data folder that we created in the previous article dockerfiles\homer\data, you will store all the files you require here, but first open config.yml.
The initial configuration gives you an idea of how to layout your dashboard, each section has a great explanation on how to use it.
One thing that isn’t covered is the service checks, we will look at that later.
To setup a basic section and URL you would need something like this:
1
2
3
4
5
6
7
8
9
10
services:
  - name: "//Media"
    icon: "fas fa-clapperboard"
    items:
      - name: "Plex"
        logo: "assets/tools/plex.png"
        subtitle: "Watch Movies & TV"
        tag: "media"
        url: "https://192.168.1.100:32400"
        target: "_blank"
To add more items, just copy the first item and change its details for the second service that you wish to link out to.
For custom icons, you need to add the files to the tools folder and then update the logo line in the configuration.
I recommend checking out dashboard-icons which contains a huge list of icons that work great with Homer.
Service Checks
Additional checks can be added to an item, these are called Custom Services, some applications have direct integration, others can only use ping. A full list of the supported services and how to configure them is listed here
Custom Themes
You can add custom CSS to homer in order to have a personal look similar to the one I have used from Walkxcode called homer-theme
Easier Updates
Sometimes updating via terminal using nano/vim can be a pain, I personally use VS Code for the majority of my editing, so I setup Remote SSH which allows me to connect to my docker server file system from VS Code and edit the configuration files directly in VS Code.
Hopefully this information was useful for you, If you have any questions about this article, share your thoughts and comment in the discussion below or head over to my Discord.
